
100 Days of SwiftUI
It is May 1st, 2025, and since OpenAI released the 4o Image Generation about a month ago, the Internet has been flooded with images in the style of Studio Ghibli. A bit late to the party, I decided to try it myself, and so was born this post’s thumbnail/hero image.
Now, to the topic: SwiftUI. The idea of multiplatform apps is one that I’ve always had a weird fascination with - it’s just so appealing to write an app once and have it available on multiple platforms, running the same code (mostly). And that’s exactly the promise of SwiftUI or, well, if by multiplatform one means Apple platforms anyway (but who even cares about Windows or Android).
According to Apple, SwiftUI is the best way to build apps across their platforms. Is it, though? I’ve dipped my toes in it and have really enjoyed the developer experience so far. Coming from React and Typescript, Swift and SwiftUI feels like a breath of fresh air, in particular Swift has been a joy - Swift has enjoyable syntax with just enough sugar, is functional but not to the point it gets annoying (cough cough Haskell cough cough), can be concise if one chooses so and has real C interop, oh and enums are actually sensible. It’s not all sunny flower meadows with butterflies and chirping birds, however, with the compiler being absolutely glacial, a lot of key functionality is still AppKit only and Xcode is ummm…not great. But, my biggest gripe is the documentation - let’s just say it’s rather lacking. Because learning a new framework without proper documentation is like trying to build a house without a blueprint, I decided to try the 100 days of SwiftUI course by Paul Hudson. It is a free course aimed at beginners, with the ultimate goal of learning to build apps with Swift and SwiftUI. In this post I will try to document my learnings over the next 100 days.
Days 1-14: Introduction to Swift
First two weeks are an introduction to the Swift programming language. I’m already fairly familiar with Swift, but revisiting the basics never hurt nobody. As expected, I blitzed throught the first two weeks in a couple of days. While most of the content was already familiar, I still did pick up a few things:
-
reversed()function actually creates aReversedCollection<Self> - Array method
removeAll()has a default value and can be called asremoveAll(keepingCapacity: true)- the former removes all elements and deallocates the storage, while the latter keeps the storage for future use. - copying a function in Swift results in the copy losing the original’s named parameters
Day 15: Consolidation I
Following the introduction to Swift is a repetition round to revise the basics. The urge to skip this day was strong, and I was not strong enough to resist. I did scroll through the material but instead of the suggested one hour, I spent a bit over a minute.
Days 16-24: Starting SwiftUI
This is where the fun begins. Day 16 gives a brief introduction to some SwiftUI components, and on Day 17 we start building our first SwiftUI app - WeSplit, a bill splitting app.
WeSplit
The premise of the app is simple: you enter the cost of the food, select how much of a tip you want to leave (0% in the nordics is the correct answer), and how many people you’re with, and it will tell you how much each person needs to pay. Demo of the final version of the app is below.
UnitConverter
Day 19 is a challenge day where we build a unit converter app. I decided to go with time units, and the app converts between seconds, minutes, hours, days, weeks, months and years. Since it’s just using simple arithmetic, the conversion isn’t particularly accurate, but it’s good enough for this use case where the goal is to just cement the learnings from the first project.
GuessTheFlag
Day 20 starts with the second project - GuessTheFlag. As evident from the name, the app is a game where you guess the flag of a country. The app shows three flags and you have to guess which one belongs to the country shown at the top. The game consists of 8 rounds, after which the score is shown and the user can start a new game.
Views and Modifiers
Days 23 and 24 are about views and modifiers. We learn about ViewBuilders and some tips for composition.
Day 25: Consolidation II
Day 25 is another consolidation day. I did not spend too much time revising the material and instead jumped straight to the challenge. The challenge was to make a brain training game that challenges players to win or lose at rock, paper, scissors. The game is played in 10 rounds, and the score is calculated based on whether the player follows the instructions to win or lose.
Days 26-34: Expanding your skills
The fun continues. This module has three new apps!
BetterRest
Day 26 starts with a new project - an app called BetterRest. The app is a simple form based app that tells the user when they should head to bed in order to get a good night’s sleep. The app uses Core ML to do the prediction, and the model is trained on a dataset of sleep data, using the Create ML app. The UI is brutally simple: a form with a DatePicker, a Stepper and a Picker.
WordScramble
On Day 29 we start yet another project - WordScramble. The game shows the player a random 8-letter word and the goal is to make as many words as possible from the letters. The app is still very simple, but a notable feature is that the words are actually checked using UITextChecker. The word list is a text file that is loaded from the app bundle. Score heuristic is super random: the total character count of the words multiplied by the number of words.
Animations
Animations is another technique project where the goal is to learn, well, animations. In this project we learn about implicit and explicit animations, and how to use them in SwiftUI. Animations in SwiftUI are easy to use and very powerful, and at the same time they really elevate the user experenience to the next level. Day 34 challenge was to add animations to the GuessTheFlag app: clicking a flag rotates it 360 degrees, while the other two are faded out and scaled down slightly.
Day 35: Consolidation III
Day 35 is another consolidation day where our newly acquired skills are put to the test. The challenge is to build an edutaiment app for practicing multiplication tables. Initially the user is presented with a settings screen where they choose if they want 5, 10 or 20 questions. The game keeps track of the score and the final score is shown at the end, as well as a button to start a new game.
I did the bare minimum here, as the app idea is not the most inspiring. The app is functional, but all of the source code is in ContentView.swift, which is not great.
Days 36-46: Scaling up to bigger apps
In this module we graduate to bigger apps and gradually start to learn how to build real world, complex apps with multiple screens.
iExpense
First app in this module is iExpense, a simple expense tracker. On the surface, it is yet another form based app, but under the hood…it is yet another form based app.

The app itself is still not a complex one by any means, but this is the first app where different views are organized into separate files and the data is passed around. Another notable addition is the use of UserDefaults to persist a bit of data.
Moonshot
On day 39 we start building project #8 - Moonshot. Moonshot is an app that lets users learn about NASA’s Apollo missions. This is the first app that is somewhat complex, with multiple views and some JSON data parsing. We learn to use LazyVStack and LazyVGrid to display the data in a grid or list, and we also learn more about Codable and how to parse JSON data. Images are displayed with relative size now, thanks to the .containerRelativeFrame() modifier.
One of the challenges of this project was to add a toggle to switch between the grid and list views, and I snazzed it up a bit by adding custom animations courtery of Claude 4 Sonnet.
Navigation
Navigation is the final “project” in this module, and it is a technical project where we learn about navigation in SwiftUI. We learn about using NavigationLink with value and how to manage navigation state using navigationDestination() and NavigationPath. Up to this point, all of the navigation was triggered by the user interacting with the UI, but now we have the tools to do it programmatically. For the challenges, we revisited iExpense and Moonshot, with Moonshot getting a central router that handles the navigation between the different views.
Days 47-48: Consolidation IV
Consolidation number four is a two day module where we build a simple habit tracker app. The app lets the user add activities they want to track and increment or decrement the count of how many times they performed the activity.
Very ugly app but it works and incorporates a lot of the concepts we’ve learned so far. The app saves the data to UserDefaults for persistance and uses a List to display the activities, which gives us the onDelete action for practically free. The app also uses a NavigationStack with simple NavigationLinks to manage the navigation between the different views.
Days 49-59: Focus on data
In this module we take our first steps into networking and learn how to fetch and parse data from the internet. Similiar to the previous modules, we build three apps that teach us the new concepts.
Cupcake Corner
Cupcake Corner is a form based app that lets users order cupcakes. The app builds on the previous form based apps, but this time we also fetch an async image from the internet. Requests are sent to a service that just echoes the data back, so that we can practice parsing the data. A notable feature here is the use of UserDefaults to persist shipping info.
Bookworm
Bookworm is yet another form based app, but this time we also get to use SwiftData for persistence. We implement a custom rating component with the help of @Binding and programmatically navigate back to the list view after deleting a book with the now-familiar dismiss.
Yes, I am now running the developer preview macOS Tahoe with the iOS 26 Simulator.
SwiftData project
The final project in this module is a technical project where we learn more about SwiftData, in particular filtering and sorting with #Predicate.
For the challenge, we revisited iExpense and upgraded it to use SwiftData instead of UserDefaults. The app now uses a @Query to fetch the expenses and displays them in a list. SwiftData now handles persistence instead of us manually encoding and decoding the list of items. We also added a filter to show all, personal or business expenses, and a sort option to sort by name or amount.
Days 60-61: Consolidation V
Consolidation number five is a two day module where the goal is to practice Codable and SwiftData. I didn’t feel like doing the challenges, so I just went over the wrap-up material and moved on. Perhaps I shall revisit this module later.
Days 62-76: Filters, maps, and more
In this module we start getting into more advanced topics, such as integration with UIKit, using CoreImage and MapKit. This is the longest module so far, with each project consisting of six parts, and the technique project being split into three parts.
Instafilter
Instafilter is a photo editing app that lets users apply filters to their photos. We use PhotosPicker to select an image from the photo library, and then run the image through filters with the help of CoreImage. ContentUnavailableView is shown when no image is selected, and the app also allows sharing the edited image with ShareLink. After the user has used 20 filter, the app asks them to give an app rating, which is done with StoreKit.
BucketList
BucketList is a map based app that lets users add locations they want to visit. The app uses MapKit to display a map with pins for the user added locations. Tapping anywhere on the map adds a new pin, and tapping on the pin again opens an edit screen where the user can change the name and description of the location. The map is only shown after the user has authenticated with Face ID or Touch ID. Additionally, the edit view shows nearby locations, which are fetched on demand from Wikipedia. The locations are persisted to the documents folder.
Accessibility
The final project is a technique project where we learn how to make SwiftUI apps more accessible. SwiftUI makes accessibility…accessible. We learn about using accessibilityLabel, accessibilityHint, and accessibilityValue to provide more information to VoiceOver users. We also learn about using accessibilityAddTraits to add traits to views. In this technique project, we upgrade a bunch of the previous apps to be more accessible.
Days 77-78: Consolidation VI
For the sixth consolidation, we build a new app - FaceName. The app’s idea is to tag imported photos with names of the people in the photo, as well as the location the photo was taken at. The app uses PhotosPicker to select an image from the photo library, and then also saves the location of the photo using CLLocationManager. The root view is a list of all the photos, and tapping individual photos opens a detail view where the user can see the full sized photo, as well as a map showing where the photo was taken. Data is persisted to the document folder. MVVM is loosely used to abstract away the data layer from the view layer.
Days 79-94: Controlling UI flow
In this module we build our biggest apps so far and learn user interaction using tab bars, gestures, haptics, and more.
HotProspects
HotProspects is an app to track who you meet at conferences. We learn about tab views using TabView and how to customize swipe gestures with swipeActions. The app uses UserNotifications to send scheduled notifications when a user clicks on the reminder button. We also learn how to create QR codes using CIFilter.qrCodeGenerator from the CoreImage framework. The app uses SwiftData for persistence, and list sorting is done using SortDescriptor.
Flashzilla
Flashzilla is a flashcard app that lets users create and study flashcards. The app is locked to landscape mode. An instance of Timer from the Combine framework is used to keep track of the time remaining. With the help of the scenePhase environment variable, the timer gets paused and unpaused automatically when the app goes into background and foreground respectively. The main view is a stack of cards, where the topmost card is the one being interacted with. Interactivity is toggled on and off by appropriately setting allowsHitTesting. The card can be swiped left or right, which is accompanied with color feedback. Accessibility is handled too, with the colorblind users getting an additional set of buttons to indicated whether the side they swept to was correct or not.
LayoutAndGeometry
The final project in this module is a technique project where we learn about layout and geometry in SwiftUI. We learn about using GeometryReader to get the size and position of views, and how to use it to create custom layouts.
The challenge is to create a custom scrolling effect where the views near the top are opaque, and the views near the bottom are scaled up. A custom rotation3DEffect is used to create a smooth scroll rotation mimicking the DNA helix. The colors change based on the position of the view in the stack, creating a rainbow effect.
Day 95: Consolidation VII
This final consolidation is a one day module where we look back at the learnings from the previous module and build a new app - DiceRoll.
The challenge is pretty simple: the app rolls a dice and shows the result, as well as historical results and a little bit of statistics. The app uses SwiftData for persistence, and the data is displayed in a list. The app lets the user “polish” their results by removing the rolls they don’t like, and the statistics are updated accordingly.
I was a little bit lazy with this app, but still had enough motivation to implement ContentUnavailableView for when there are no rolls.
Days 96-99: One last project
The last project in this course is called SnowSeeker. SnowSeeker is an app that lets users browse ski resorts around the world and helps them find one suitable for their next holiday. The UI works nicely with iPad and iPhone, thanks to the use of NavigationSplitView.
The app is a fairly simple list based app that loads data from a JSON file and renders it in a list. The list is searchable with the help of searchable modifier. Users are able to favorite resorts, and the favorites are persisted to UserDefaults. The list of resorts can be sorted by name or country.
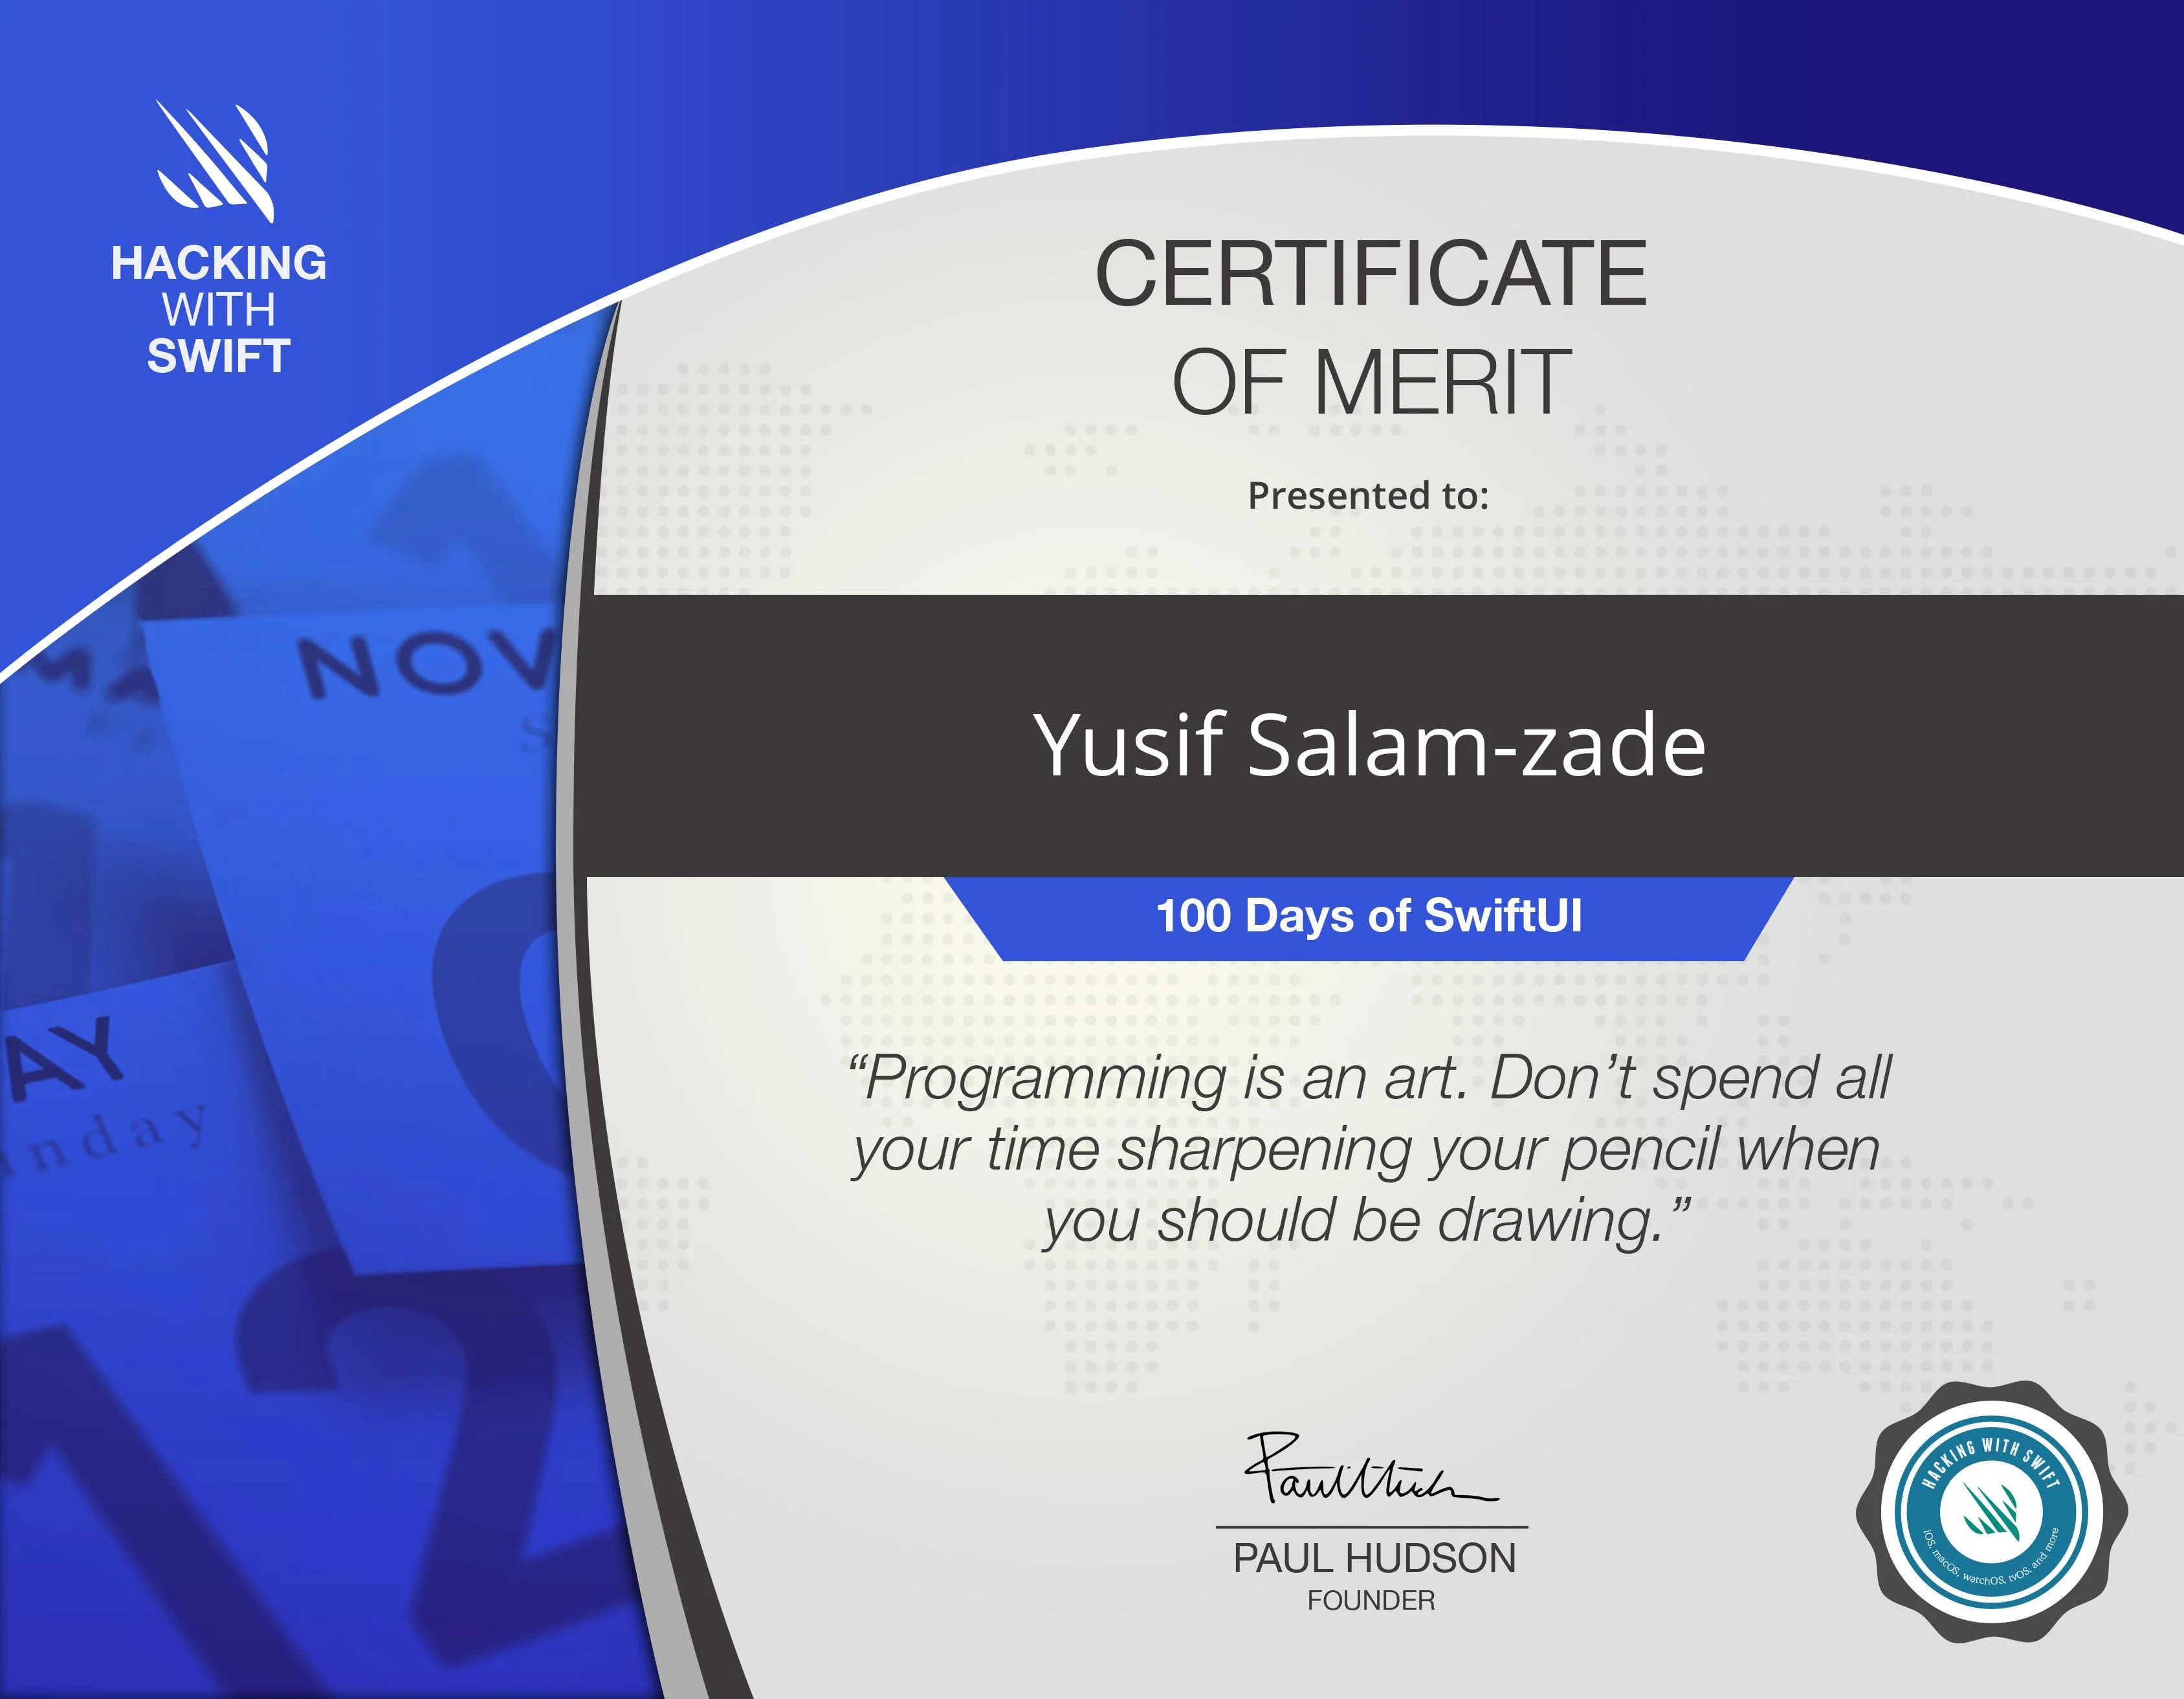
Day 100: Final exam
The last day is reserved for a final exam, which is a quiz with a whopping 100 questions. The questions cover all the topics we’ve studied in the 99 preceding days. After completing the quiz and getting at least 70% correct, we get a certificate of completion, 80% means we pass with merit, and 95% means we pass with distinction.
I managed to get 92/100 correct, which is a pass with merit. Fairly content with that outcome, but still think I would’ve scored higher had the questions been formed better - some of the questions were rather bit amgiguous gotchas and could be interpreted in multiple ways.
100 days of SwiftUI = ✅
Final thoughts
I started the course on May 1st, 2025, and finished it on July 20th, 2025. That means I covered the 100 days in 80 days, finishing 20% ahead of schedule. While the course is intended to be an hour of SwiftUI each day, I worked in spurts, mostly on weekends, often completing a week’s worth of study material in one day. I realize it’s not the intended way, but having a full-time job and other commitments, it’s hard to motivate yourself to do an hour of self-study every single day and it’s a whole lot more realistic to just binge through the material when you have more free time.
Overall, I quite liked the course but admittedly, the second half of the course was not as engaging as the first. The course is well structured and covers a lot of ground, but I feel like it could have gone deeper into some topics, especially material covering interop with UIKit felt lacking. The course is aimed at beginners, so it makes sense that it doesn’t go too deep, but I would have liked to see more advanced topics covered.
During the course, I created some 25 XCode projects if my git repo is to be believed and the material helped me understand SwiftUI better. Personally, I would’ve preferred to have 3-5 properly big projects instead of 25 tiny ones, but I understand that the course is aimed at beginners and the small projects are easier to digest. I also did not watch any of the videos and relied solely on the written material, so it’s entirely possible that I missed some wisdom that was only captured in video format.
Now that I’m writing this conclusion chapter, I realize I never set concrete goals for myself other than learning how to build apps with SwiftUI. This course has definitely helped me lay the foundation for building apps with SwiftUI but by itself it does not teach enough to build real quality apps that can be shipped to the App Store but neither does it claim to. I learned a lot and feel like I’m now in a better position to learn more and eventually graduate to building properly complex apps in SwiftUI.
Big thanks to Paul Hudson for creating this course and making it available for free. Hacking with Swift is an invaluable resource for learning to develop for the Apple ecosystem, and I highly recommend it to anyone who wants to learn Swift or SwiftUI.
I started this post with a GenAI hype of the time, so it’s only fitting to end with one: here’s a Veo3 generated video of me celebrating the completion of the course.